Planning - Working with the planning - All about projectsCreate / use / edit project templates |


|
You can use project templates to create recurring, similarly structured projects quickly.
Create project template
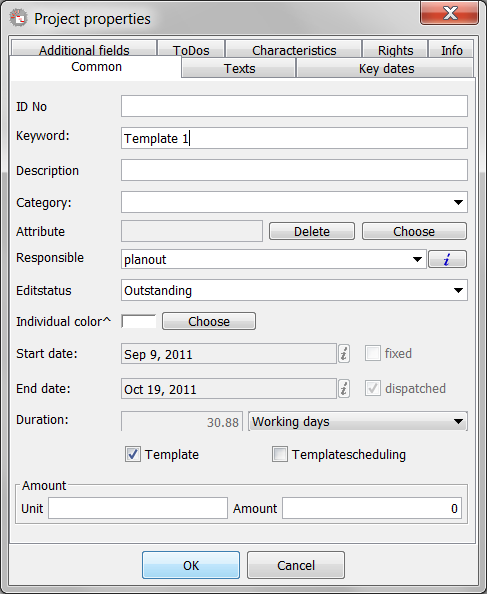
For this purpose it is first necessary to create the appropriate template. For this please open a blank design view and create a new project in it. This is both through the "File" menu, "Create Project" menu and selecting "New Project" and via the "Insert" menu and the menu item "New Project" possible. In the first case, the new project is created in a new opened project view, and the second in the existing, empty ideally planning view. In the Project Properties dialog, select the "General" in the lower section "template" from. Thus, the project is marked as a template and can be used to build other projects.

A project properties dialog of a project template
Now you can, as in all other projects also create your tasks and resources for the project. In most cases it makes sense to utilize a project template, because otherwise its operations cause strain on the resources. If you need the template already loaded, another possibility is to continue to move the project template in the past, since the stresses are usually not significant.
When you have created all the processes according to your needs and possibly even planned resources, save the project simply on the "Save" button in the toolbar or the menu "File" and "Save Project" from the menu option. By the appropriate selection in the Project Properties dialog it is automatically recognized as a template.
Using the project template
Now you can use the template for creating your project. Either select the "File" menu, "Create Project" menu and selecting "project template" or the "Insert" menu and the menu item "project template". It appears the project selection dialog to select the template. You can use it as you normally use to search.
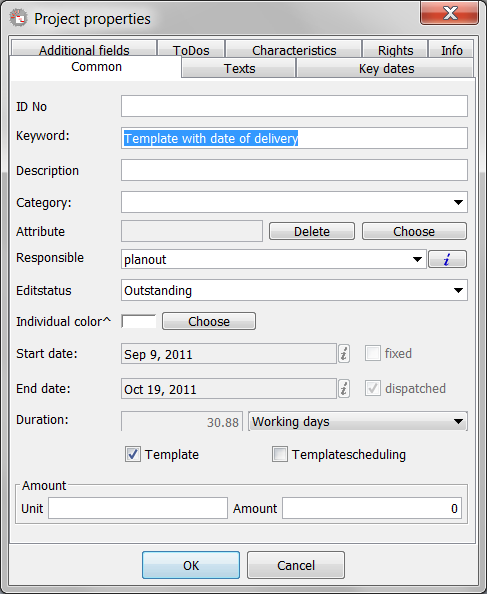
After selecting the template and clicking OK, the document is copied and converted into a project. Of this project, you will be shown after the Project Properties dialog box in which you can make changes as usual. The most important change would be to mention the keyword.

The properties dialog of the new project
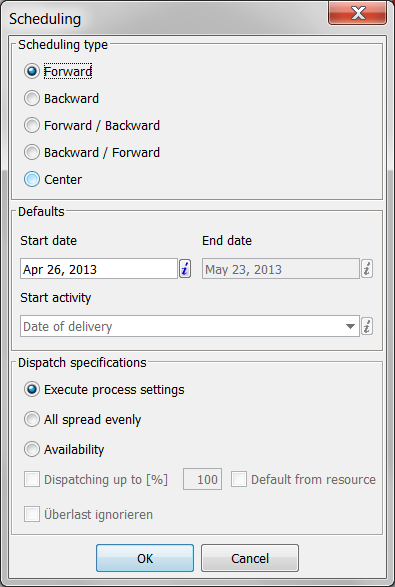
Have you made all changes, confirm, as usual, OK. Subsequently, the project will be included in the project table and it will automatically open a dialog with the current termination date.

The scheduling dialog after project creation
This also works as usual and is confirmed with OK. Thereafter, the new project is created, terminated, but not yet saved. So make the necessary changes, and then save your new project as usual. Note that the project has no choice on template anymore.
Edit project template
To edit a project template, you must open it from the "File" menu and select the menu item "open template". Please note that your actual view will be closed and an empty project view will be opened. It will return to the project selection dialog to select the templates. After selecting the template is loaded in the project view and can be edited freely. Finally, you also save the template back as known.
Delete project template
To delete a template, open it "edit template" as described. Then in the context menu of the original "Clear" and answer the question with "Yes". With this action the template in the database is deleted.